
A physical sample reveals fit, colour, usability and finishing issues that drawings can miss. Reviewing it early helps prevent costly changes once full production has begun.
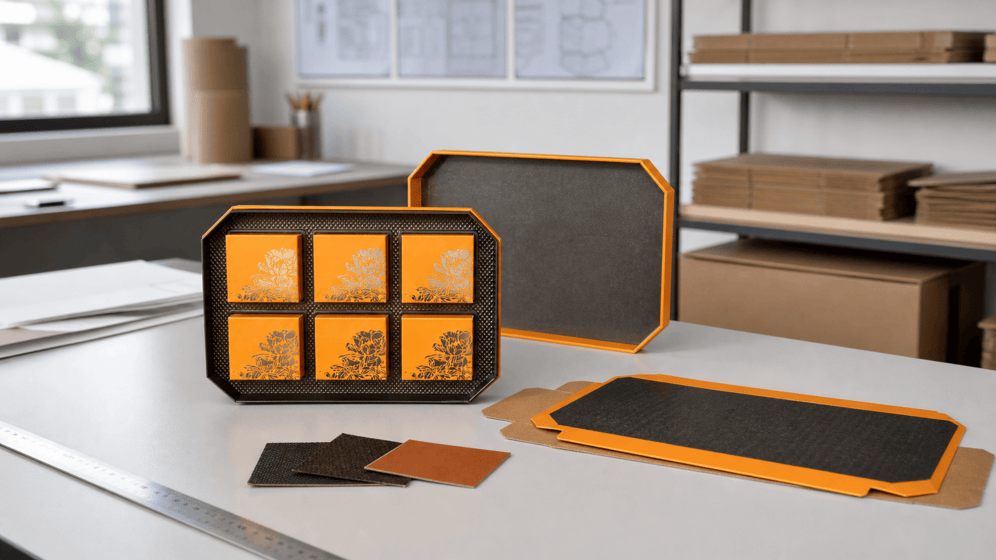
Drawings and digital renderings are useful for developing a concept, but they cannot fully show how a box feels in the hand, how easily it opens or how securely the product fits. A physical sample turns assumptions into something that can be checked.
The earlier important issues are found, the easier they are to correct.
Not every sample is made for the same purpose.
A white sample focuses on structure. It is usually produced without final printing and can be used to confirm dimensions, fit, assembly and opening action.
A digitally printed sample adds artwork and approximate colour. It is useful for reviewing layout, scale and the relationship between graphics and structure.
A production-standard sample uses materials and processes closer to mass production. It may include the intended paper, printing and finishes, making it more suitable for final approval.
The first sample does not always need every finish. It is often faster to solve structural questions before investing time in decorative details.
Always test the actual product and all components that will be packed with it.
Confirm that:
A small change to the product or insert can affect the entire pack. Updated dimensions should therefore be shared before the next sample is produced.
Open and close the sample several times. Watch how the lid moves, whether a drawer pulls smoothly and whether magnets align correctly.
Ask someone who has not seen the design to open it without instructions. Their first reaction can reveal problems that the project team has stopped noticing.
The pack should feel intuitive. If customers must shake the box, pull too hard or touch the product in an awkward way, the structure needs further work.
A sample helps establish expectations, but colour can vary between digital proofing and mass printing. Paper, coating, ink and lighting all affect the result.
Review colour under consistent lighting and identify the elements that require the closest control. Keep an approved reference and record the material and finishing specification associated with it.
If exact colour is critical, discuss the most suitable proofing and press-control method with the supplier before approval.
Look closely at foil edges, embossing depth, lamination, corners, wrapped edges and glue lines. Fine artwork may need adjustment to suit the selected process or paper texture.
Also check the sample from a normal viewing distance. A detail can look impressive under magnification but feel too small or weak when the complete package is seen.
Comments such as “make it slightly tighter” or “use a warmer gold” can be interpreted in different ways. Mark changes on drawings, photographs or a written approval list.
When possible, approve one physical sample and keep it as the control reference. Make sure the artwork version, dimensions, materials and finishes are clearly identified.
Sampling is most useful when each round has a defined purpose. One round may confirm structure, the next may confirm graphics, and the final round may confirm production details.
Trying to solve every question at once can make feedback unclear and extend the development schedule.
Preparing a packaging sample? Send us the product dimensions, artwork status and the decisions you need the sample to confirm. We will help you choose the most useful next step.

Scan to start a chat

Scan to add us